Edit and delete organisation profile
Administrator and organisation superusers can edit the organisation profile page. To access the organisation profile page:
- Go to settings (gear symbol)
- Go to «Organisations»
- Select your organisation from the list
Alternatively, you can click on the name of the organisation in your user profile.
On the organisation profile page, there are several configuration options available, which can be accessed through the tab view located below the description.
Depending on your role and the configuration of your organisation, not all tabs or features may be available.
- Profile picture: Click on the profile picture to upload your organisation's logo or custom avatar. Accepted file formats include JPEG and PNG.
- Name of the legal entity: This optional field enables users to provide the name of the legal entity.
- Description: This optional field enables users to provide a description of their organisation.
- Add contact information: These standard contact info fields help other users reach out to you and can be used for the metadata autofill rules. They can be found under the tab «Contact information» which is shown as the selected tab by default when loading the page.
- Map configuration: This tab enables users to provide a URL to a WMS base map, a default base layer, and optionally provide a copyright attribution displayed on the map view (see the image below).
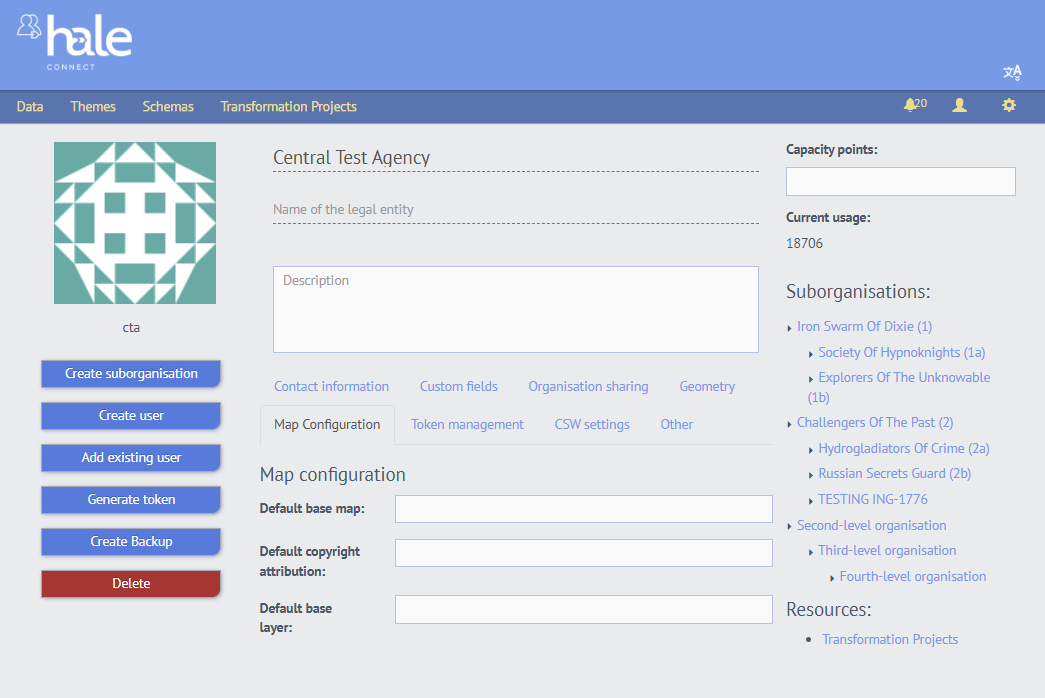
The copyright attribution field supports HTML links, e.g. © GeoBasis-DE / <a href="https://www.bkg.bund.de/">BKG</a> 2025 CC BY 4.0.
As organisation superuser or administrator, you can configure the default basemap for the map view in the view services section of your datasets. When members of your organisation view published services on the platform, the data is displayed using your configured WMS as the basemap. Users have the added ability to upload their own WMS basemap via the map view interface.
When using OGC API Features, you can define a default base map and associated default base layers for the spatial extent in the OGC API Features view services. Currently, only WMS version 1.3.0 is supported as the default base map. You can specify one or more default base layers by entering them as a comma-separated list in the Default base layer field. Note that for OGC API Features, if you want to specify a custom default base map, you must also specify at least one default base layer. If you only specify a Default base map but no Default base layer, a standard base map will be used for the OGC API Features Download view.
For the map view in the view service, the specified base map will be used simply with the first layer, if you did not specify any other layers.
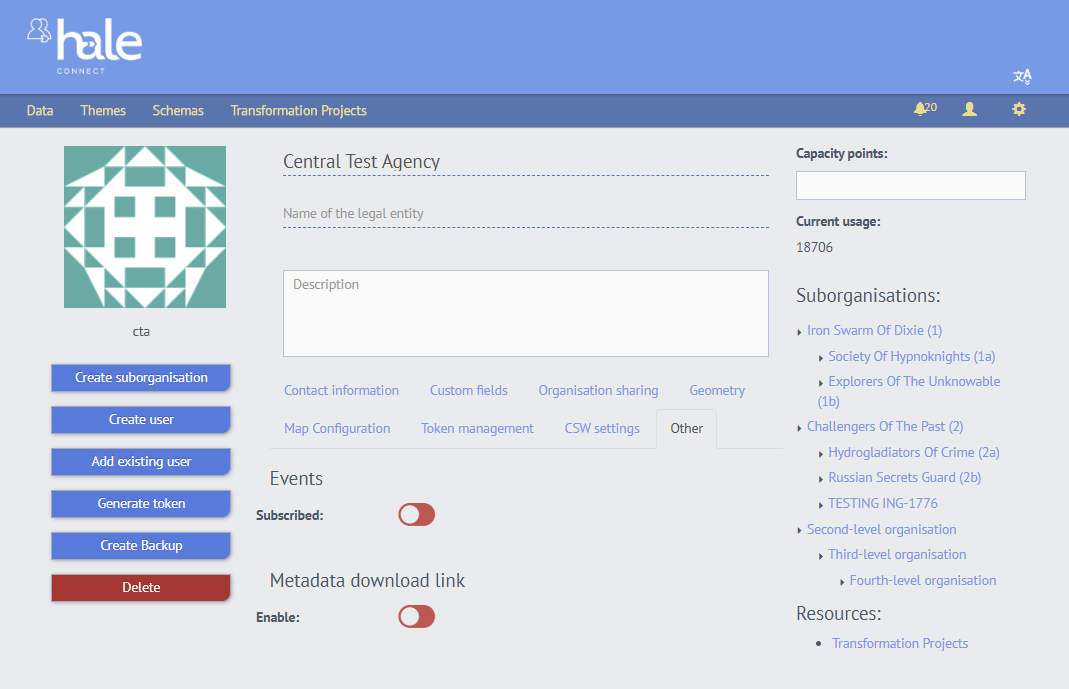
- Events Activate the «Subscribed» toggle to receive email notifications about automated workflows. The notifications provide information about the status of online transformations and service publishing every time a workflow is run. The toggle can be found under the tab «Other».
- CSW INSPIRE metadata The fields: Supported languages, Default language, Date, Gemet keywords, Service conformity, and Temporal extent enable administrators of organisations with an activated CSW organisation endpoint to configure the CSW GetCapabilities document. Default values are entered automatically in the CSW GetCapabilities document if no values are entered in the fields. Entered values will appear after the nightly CSW update. It can be found under the tab «CSW Settings».
- Add custom fields: Such fields are used to save user-defined values for metadata autofill rules. You and your organisation should agree on the keys for these user-defined fields so that they can be used effectively in the autofill rules. They can be found under the tab «Custom fields».
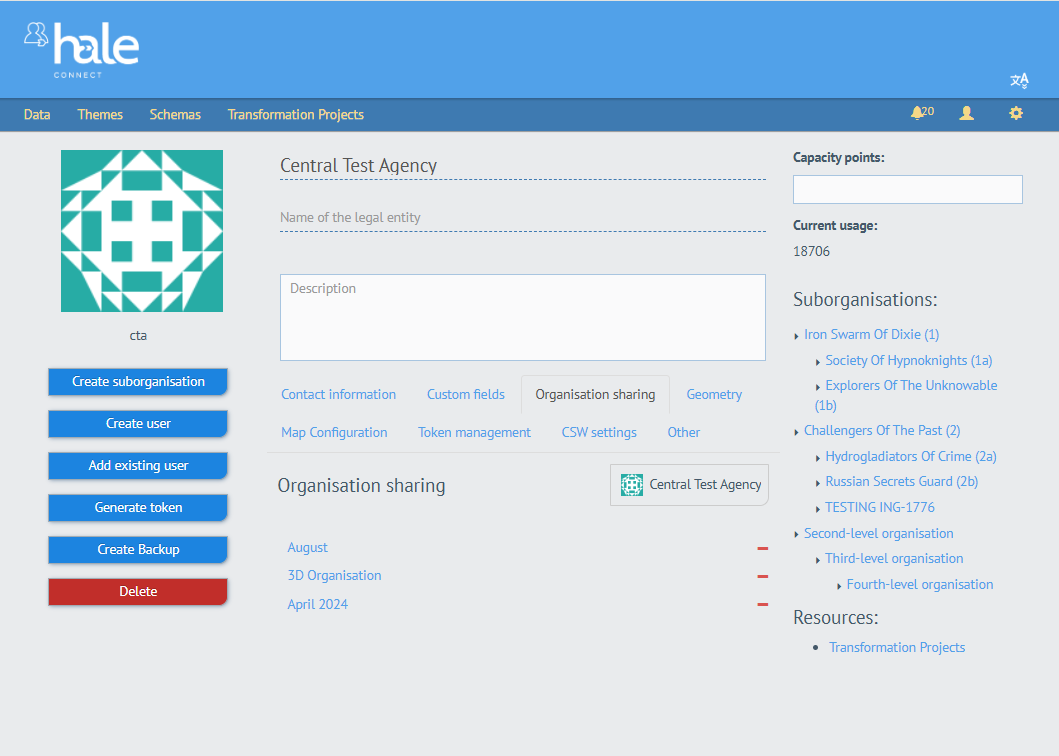
- Sharing organisation access If you have the necessary permissions, you can share access to your organisation and suborganisations with other organisations. To do so, navigate to the tab «Organisation Sharing». There, you can see a list of all organisations you are currently sharing your organisation info with, as well as the option to remove these organisations' access by clicking on the red minus icon next to the organisation name. To add another organisation to the list, click on your organisation name in the upper right and select the organisation you want to share with from the drop-down. It will then appear in the list.
- Uploading a geometry: Under the tab «Geometry» you can upload a geometry for your organisation. Initially, there are no geometries for your organisation, as can be seen in the picture.
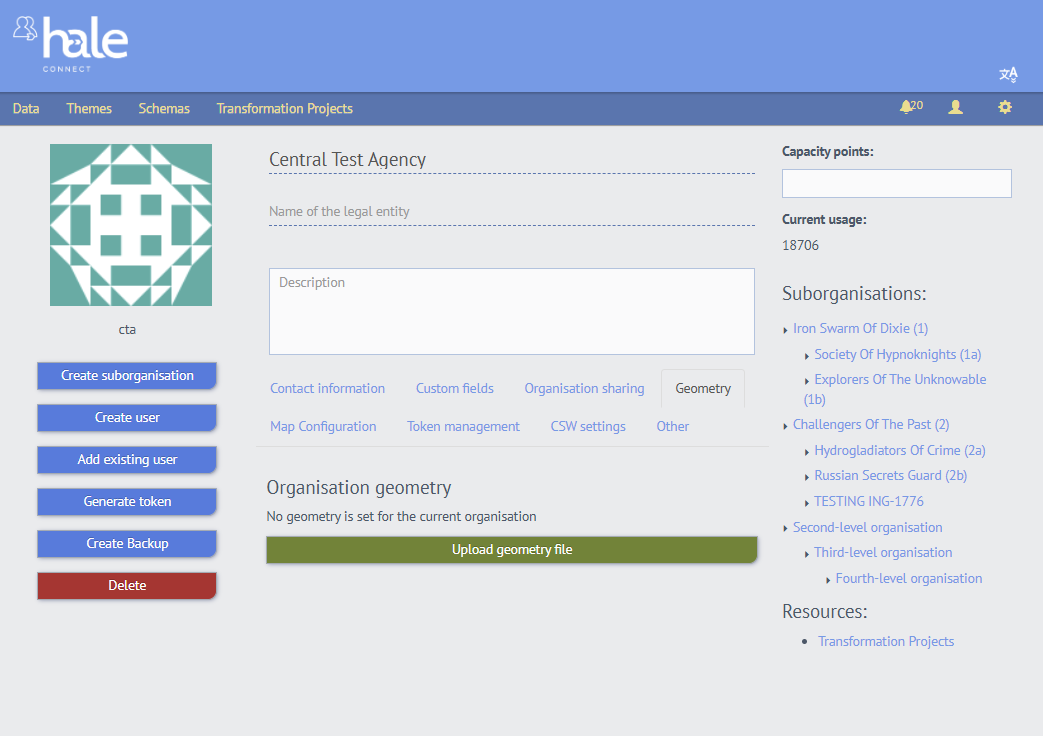
When clicking the «Upload geometry file» button, a pop-up will open and lets you select a geometry file to upload a file from your file system. The supported formats are Shapefile, GML, and GeoJson.
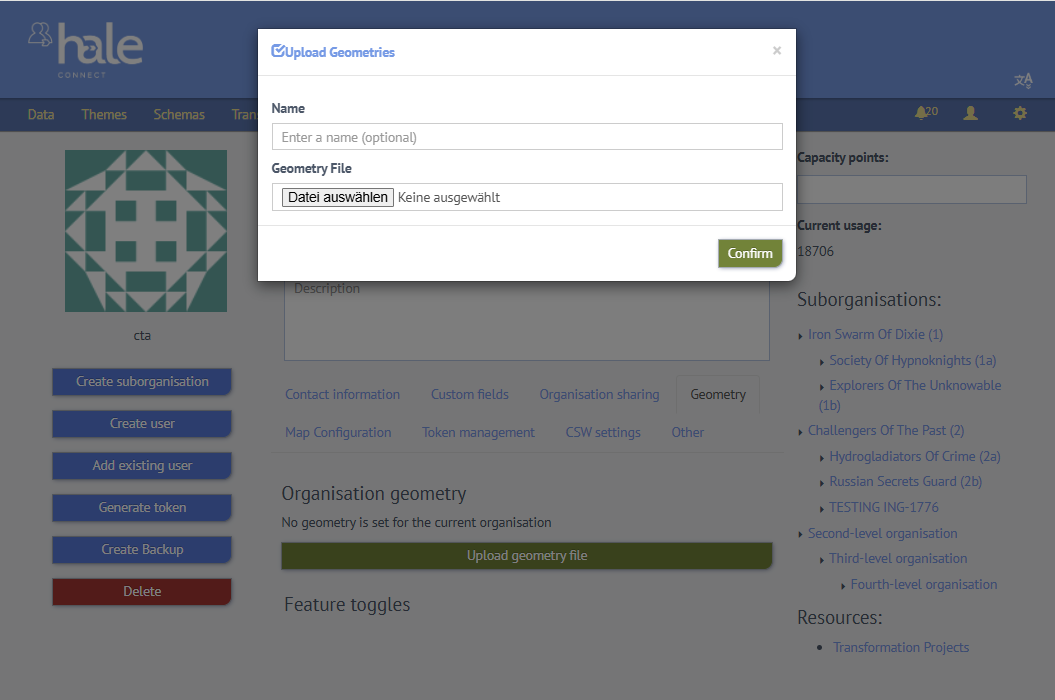
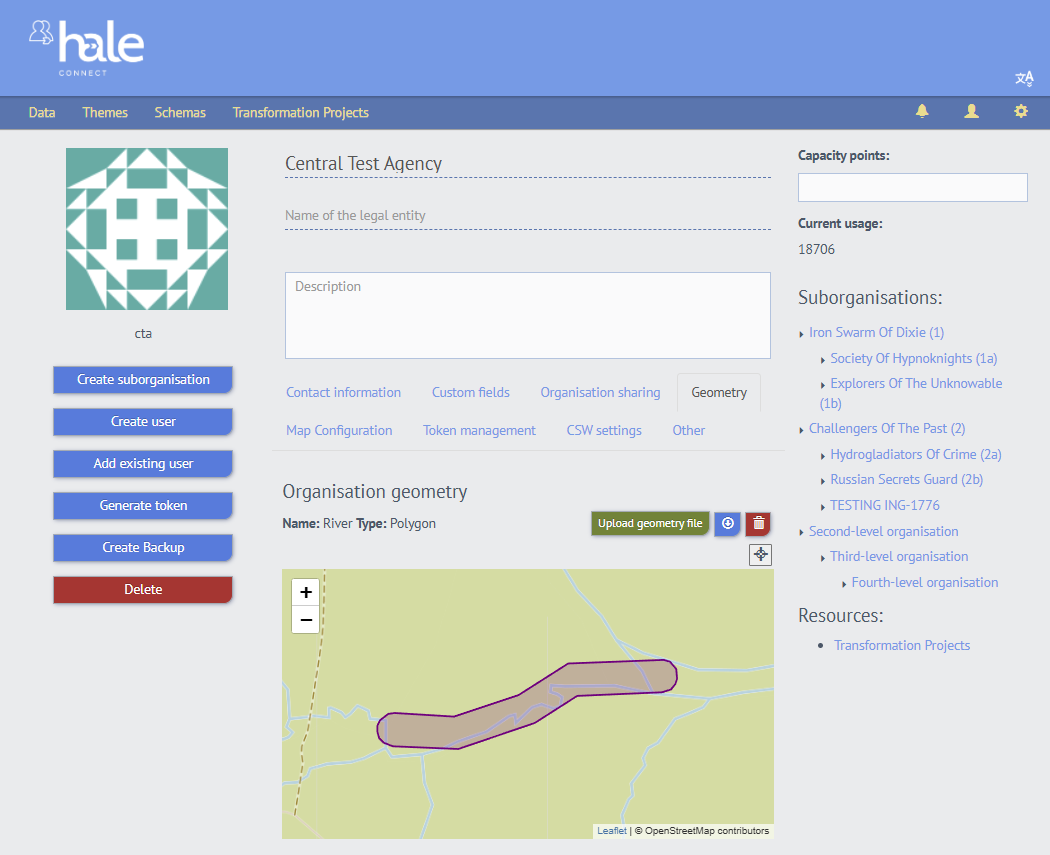
Furthermore, you can enter a name for the geometry that will later be displayed above the map view. After clicking the confirmation button, it may take a short moment for the file to be converted to a geometry. The window will then close on its own, or, in case you uploaded an invalid file for which conversion is not possible, you will be informed with the error message «Conversion failed». If the file described a valid geometry and was successfully converted, the map view of this geometry will be shown below. You can remove the geometry using the trash icon button, download the geometry using the blue download button, and you can replace it with a new one, by clicking «Upload geometry file» once again.
- Managing tokens: Under the tab «Token Management» you can inspect, generate, and remove tokens. To generate a token, click the right button and a pop-up opens where you can set a name for the token and specify its validity period. You can copy the token directly and optionally also save it in your browser's storage such that you can also still access and copy it later on.
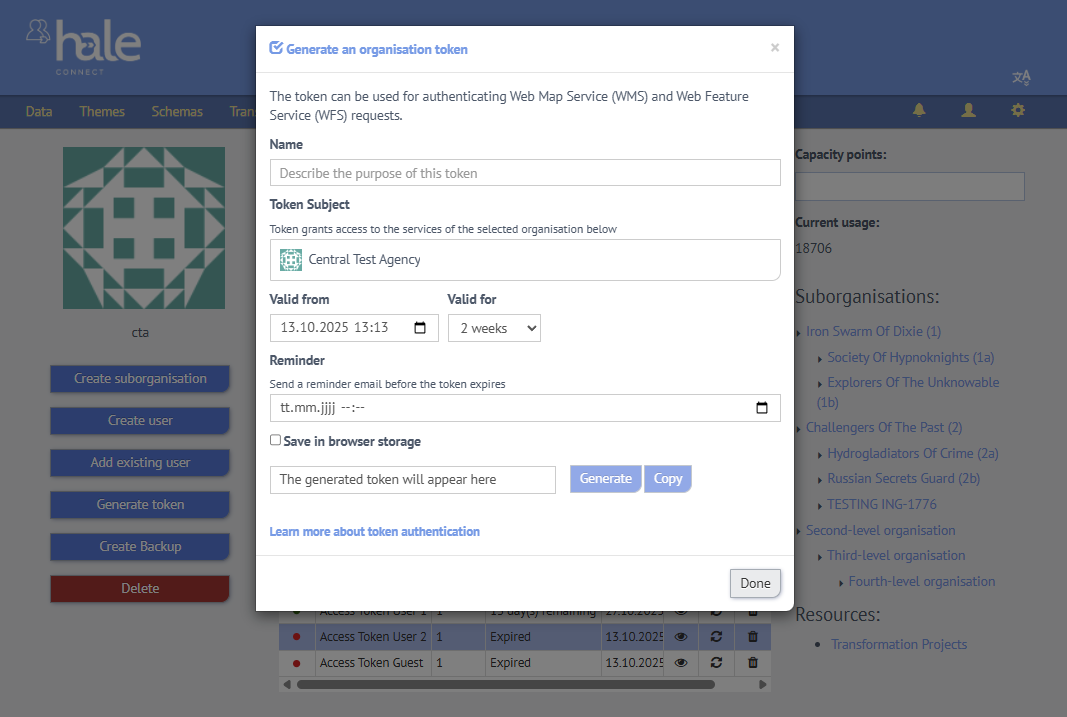
A table containing your current tokens will appear.
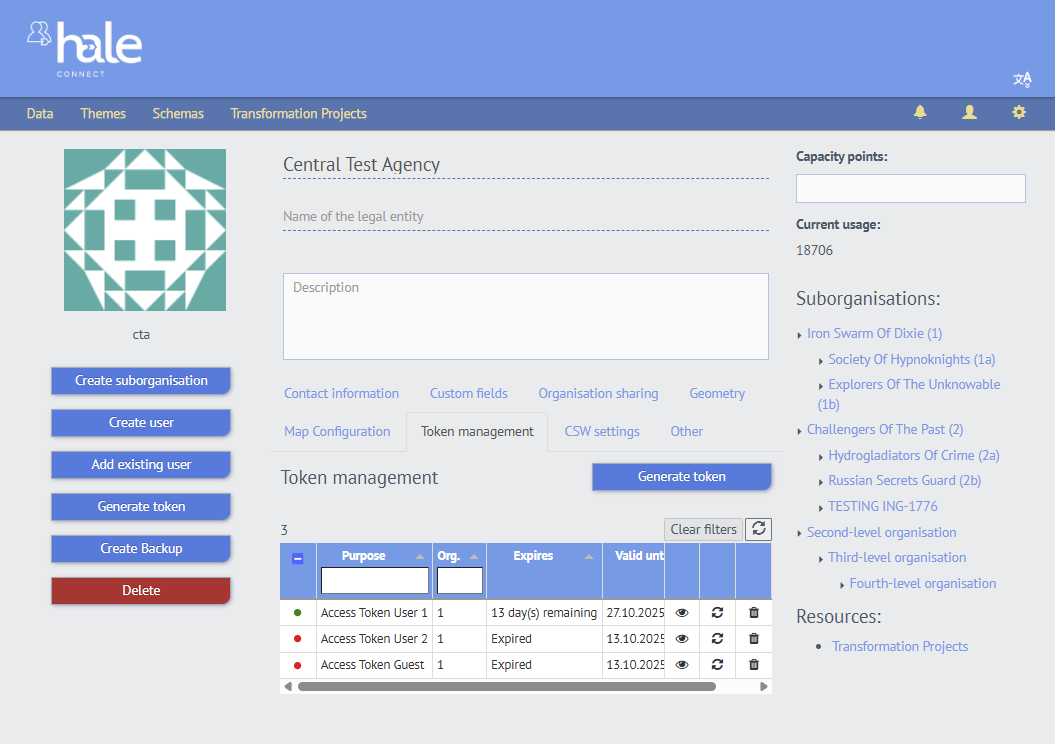
In the table, you can filter and search by organisation ID or by purpose. You can see the current state of a token, that can either be Expired, Valid or Revoked. In the left-most column, you see a red dot for expired or revoked tokens and a green dot for valid tokens. In the table view, you also have the option to inspect a token by clicking the eye icon, which will open a pop-up containing token information.
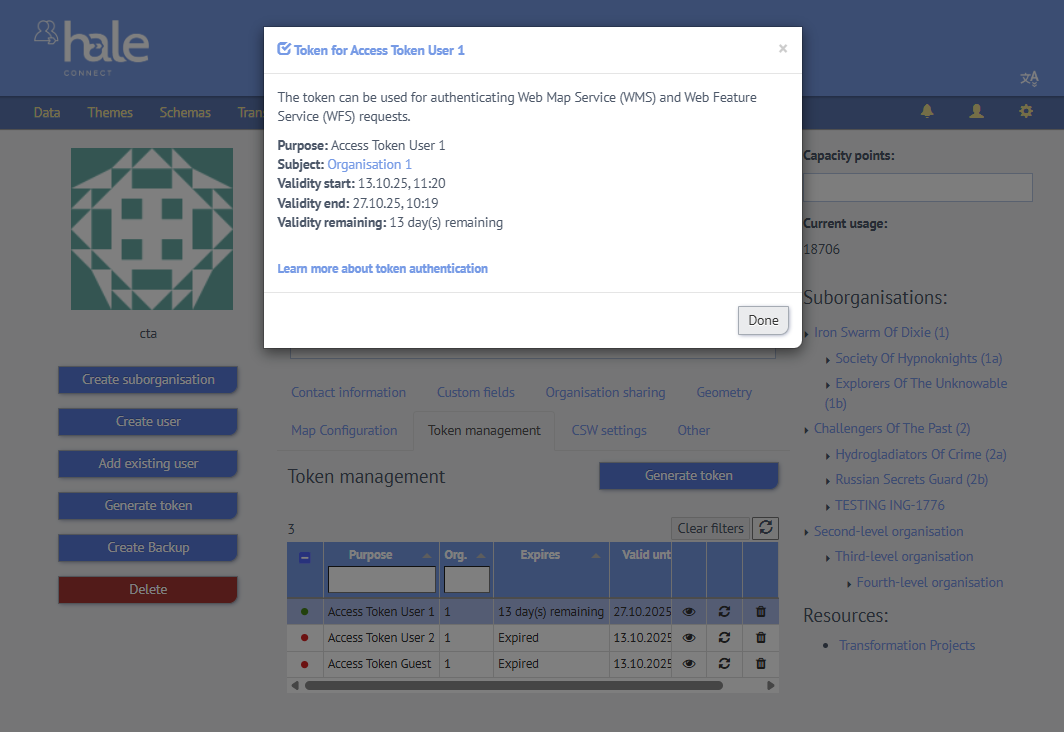
You can also regenerate a token by clicking the arrow circle, which will open a similar pop-up as for token creation.
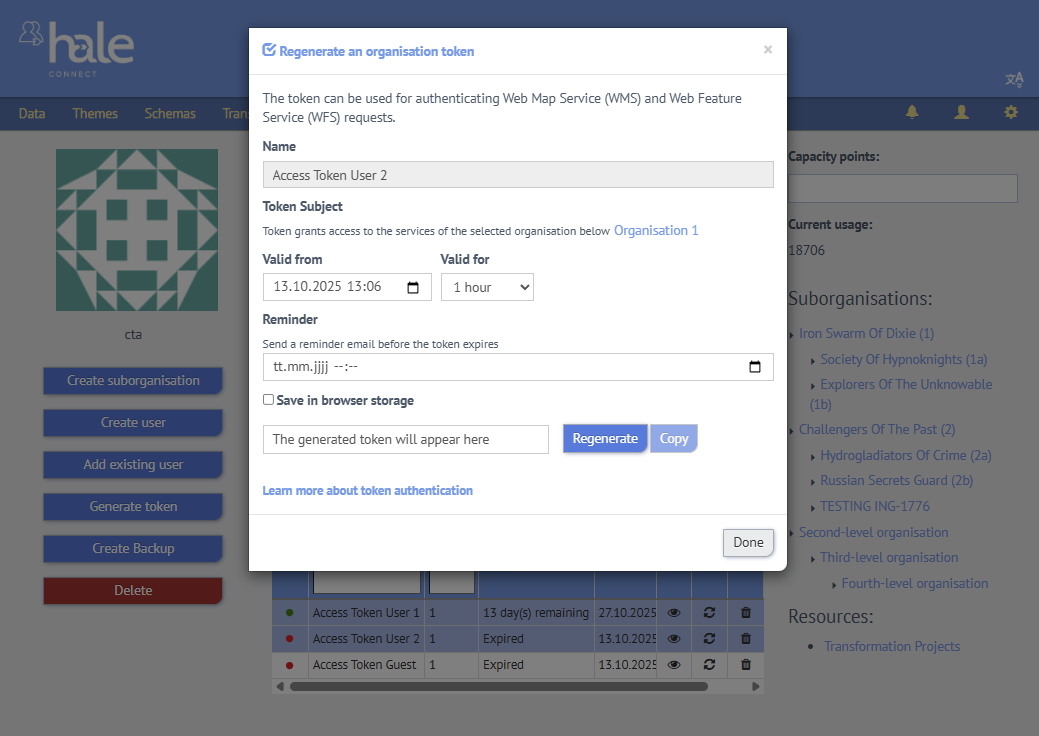
Administrator and organisation superusers also have the option to create suborganisations, create users, add existing users and delete the organisation, directly from the organisation profile page.
When you delete an organisation, user accounts associated with the organisation remain active. These user accounts no longer have an organisation or role and as a consequence have very limited privileges until they are linked to a new organisation.
The organisation name cannot be edited.